|
1. Click the printer icon, click
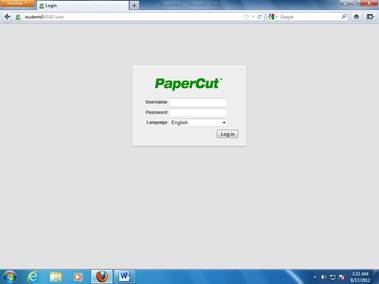
File/Print, or right-click & Print. 2. Go to website http://students5:9191
or go to EagleNet and click the PaperCut link below the log in box.
(See screen below.)
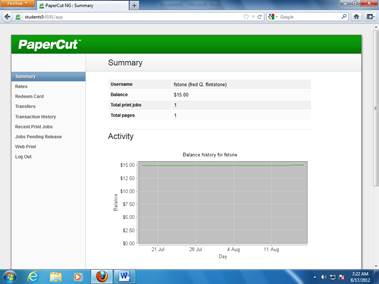
3. Log
in using student
network credentials, and you will
see the screen below.
|
4. Student
Guidelines
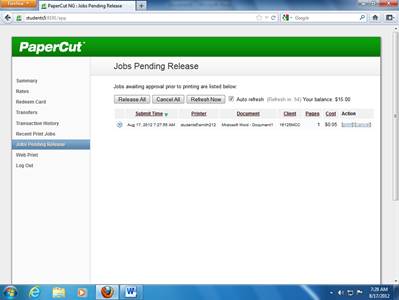
screen may appear; minimize it in case you need it later. 5. Click Jobs Pending Release on the left side menu. You should now be
able to see all your print jobs. Double-check
the number of pages of each job to be sure you would like to print them. You
can cancel anything you do not want to print. (See screen below.)
6. Your print jobs are listed; under
Action, choose Print or Cancel to release the job to the printer or cancel it. If you
have multiple print jobs you would like to release, you can click Release All to print all the jobs on
your screen. If it asks you if you are sure that you want to release all
jobs, click OK. (This
system allows you to keep track of your printing jobs, including how many
pages each job is, how much it will “cost” against your pre-paid balance,
etc. Each student begins the semester with a $15.00 balance in PaperCut. You
have paid for this $15.00 balance through your technology fees. Each sheet
costs $.05. Keep this in mind as you advance through the semester. If you
notice your total running low or your $15 balance runs out, you can add
money to your PaperCut account at the Business Office in Hardin Hall.) 7. Click Log Out on the left side menu when all printing is finished. |